Getting started with AI Gen
Six short lessons, about ten minutes in all. Every picture on this page was made in LayerShop with local models, and the prompts shown are the ones that were used.
1. The panel
Open it with Window › AI Gen. It docks as a tab next to Properties and Adjustments. If local AI is not set up yet, the panel offers to do it: see the setup wizard.
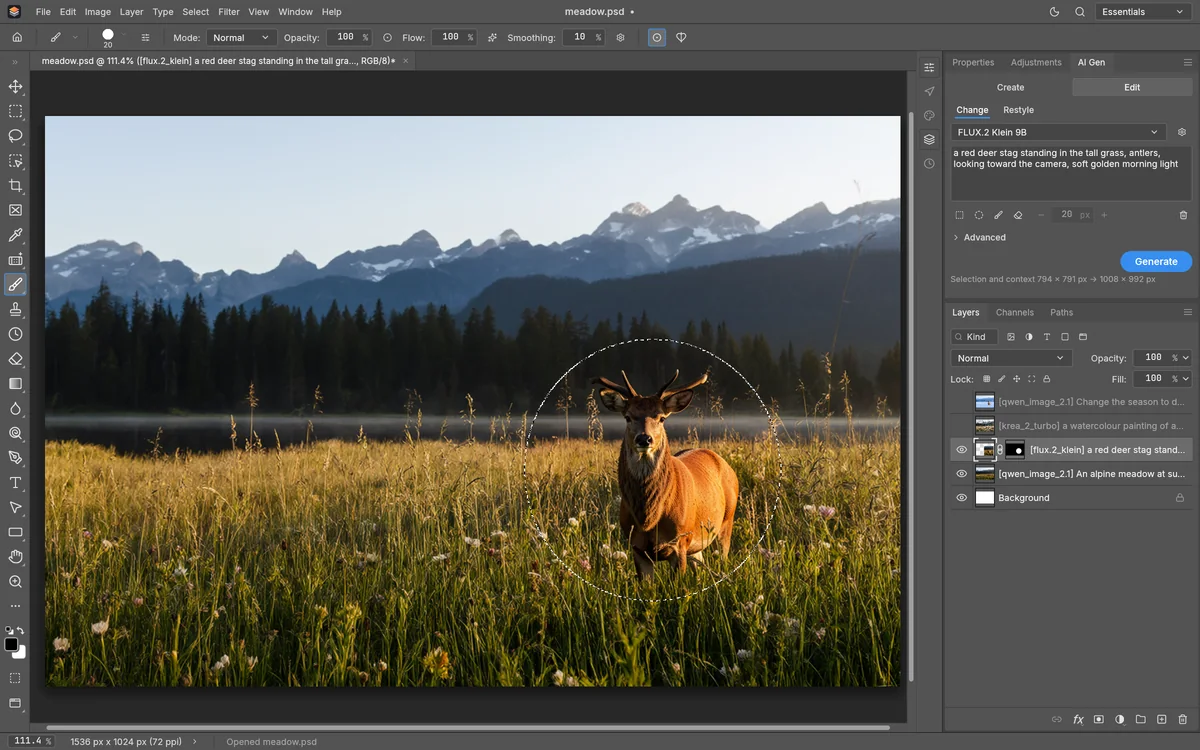
The panel has two tabs of its own, and they say what you are there to do:
- Create makes a new image from a prompt.
- Edit changes a picture that is there. The row under the tabs picks the task: Change or Restyle.
Everything else is the same on both: choose a model, write a prompt, press Generate or Ctrl + Enter. Esc stops a running generation. The gear next to the model opens that model's settings, which you rarely need.
2. Create an image
- Make a new document, File › New. The example is 1536 × 1024.
- In AI Gen choose Create and pick a model. Qwen Image 2.1 is a good first choice.
- Describe the picture, the way you would describe a photograph to someone who cannot see it.
- Press Generate.
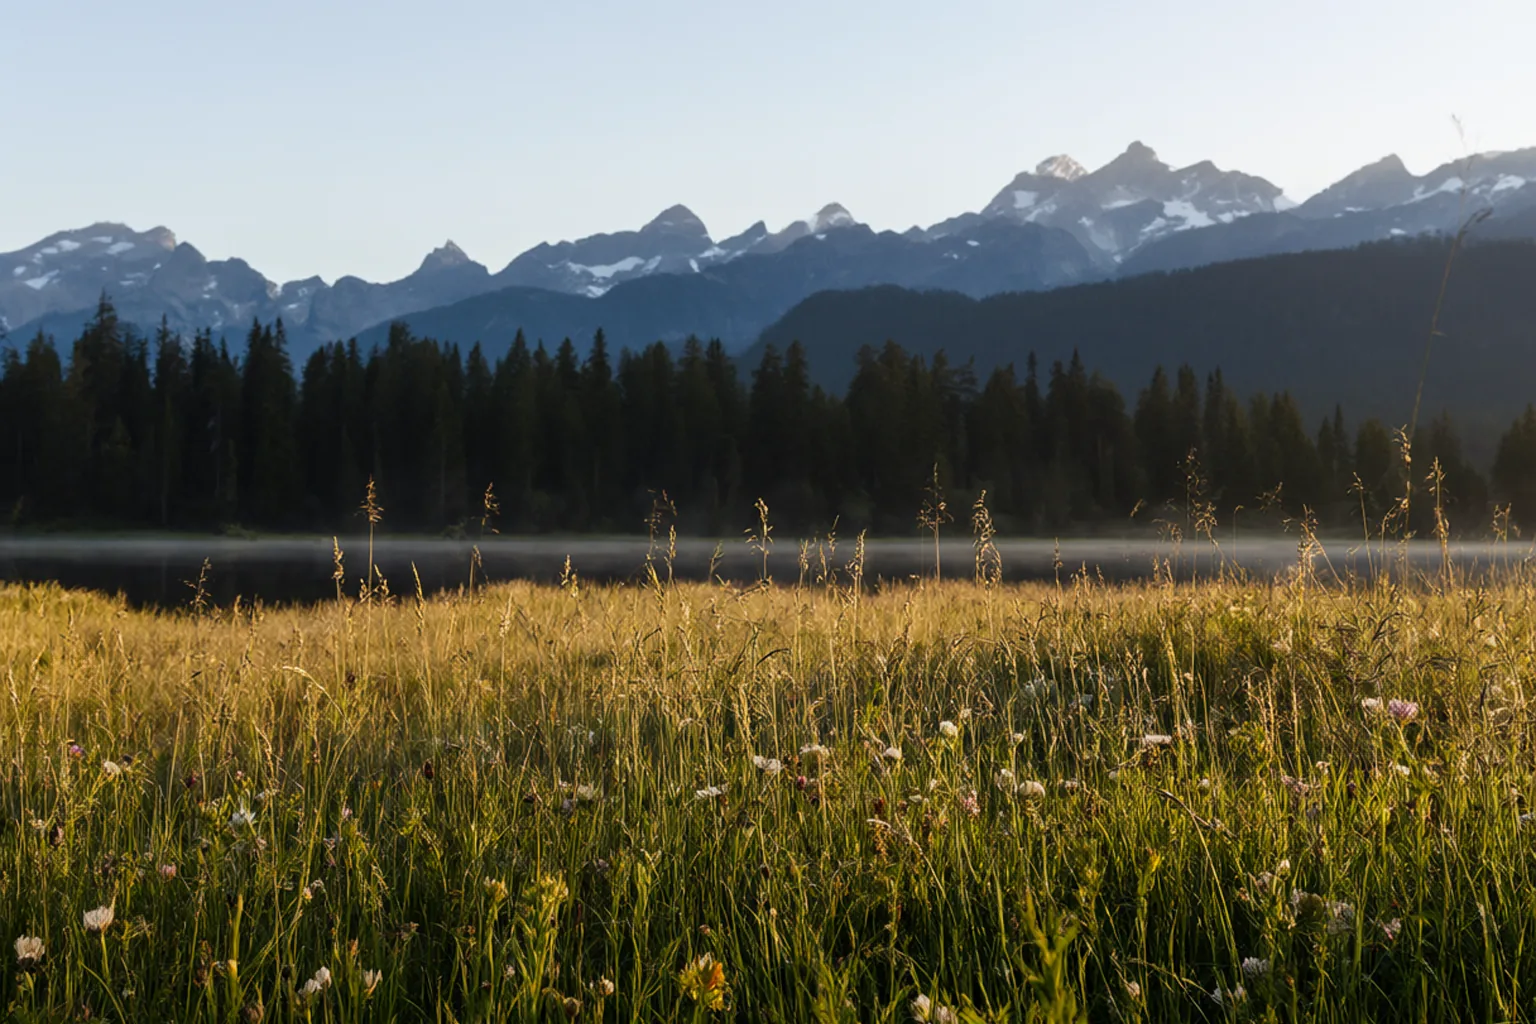 [qwen_image_2.1] An alpine meadow at sunrise…
Size and shape
The selection decides the shape of the result; with no selection it is the whole canvas. Models are trained near one megapixel, so LayerShop renders at about that size in your selection's proportions and fits the result to it. The line under the Generate button tells you what will be asked:
Canvas 1536 × 1024 px → 1216 × 832 px
To generate into part of the canvas, drag a marquee first. The picture is made for that rectangle, and the selection becomes the new layer's mask.
3. Fill a selection
This is the one most people came for: put something into a picture so that it looks as if it was always there.
- Click the layer that holds the picture. It must be a pixel layer.
- Select where the new thing goes. Any selection tool works; so do the mask tools under the prompt.
- Choose Edit › Change and a model that fills, such as FLUX.2 Klein 9B.
- Describe what belongs in the selection, not what to do. The hint in the prompt box reads "Describe what to paint in the selection…" when the model works this way.
- Press Generate.
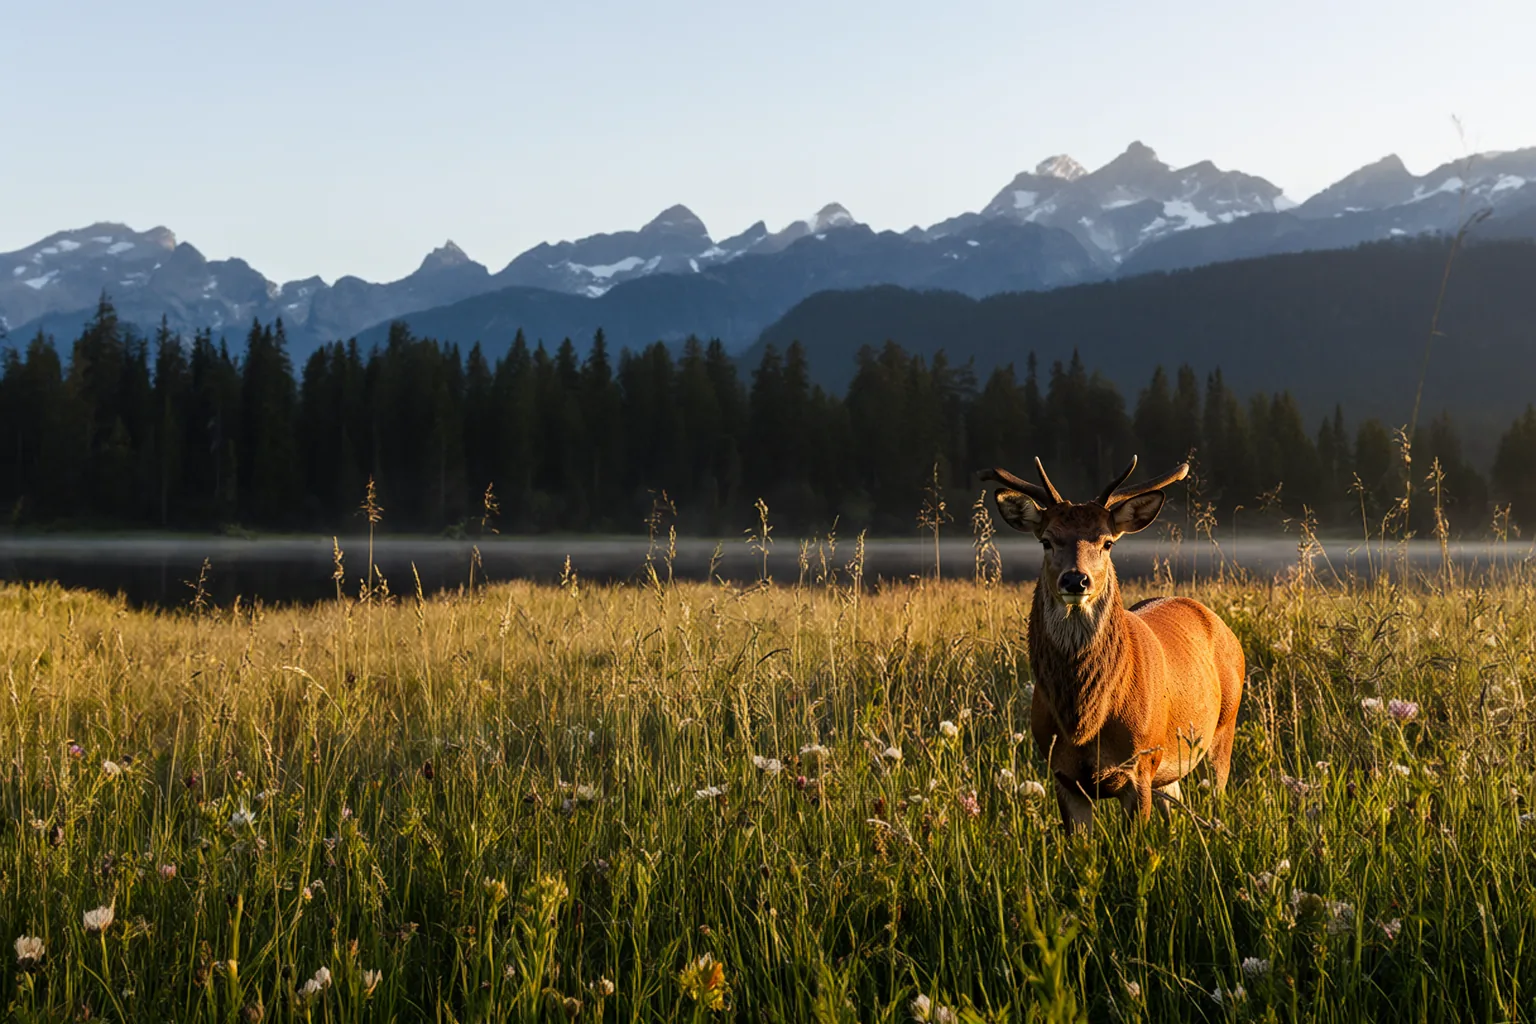
The model is shown the picture around your selection as well as the selection itself, which is why the stag is lit from the same side as the grass. The edge of the selection fades in, so the join does not show.
The mask tools
| Button | What it does |
|---|---|
| Rectangle, Ellipse | Drag on the picture. Shift adds to the selection, Alt takes away. |
| Brush | Paint what to repaint. It shows as a red tint over the picture. |
| Eraser | Paint out what should stay. |
| − size + | The brush size, for both. |
| Bin | Clears the mask. |
Two settings worth knowing
Both are under Advanced, above Generate.
- Context is how much of the picture around the selection the model sees, 25% by default. More helps it match the surroundings. Less keeps a subject from growing larger than the selection and being cut off by it.
- Strength is how far the result may depart from what is there. 100% paints the selection afresh. Around 50 to 70% keeps the shapes and colours and changes the detail.
4. Change by instruction
Edit models work the other way round: you tell them what to change. The same Edit › Change task does this when the chosen model is an edit model, and the hint in the prompt box becomes "Say what to change…".
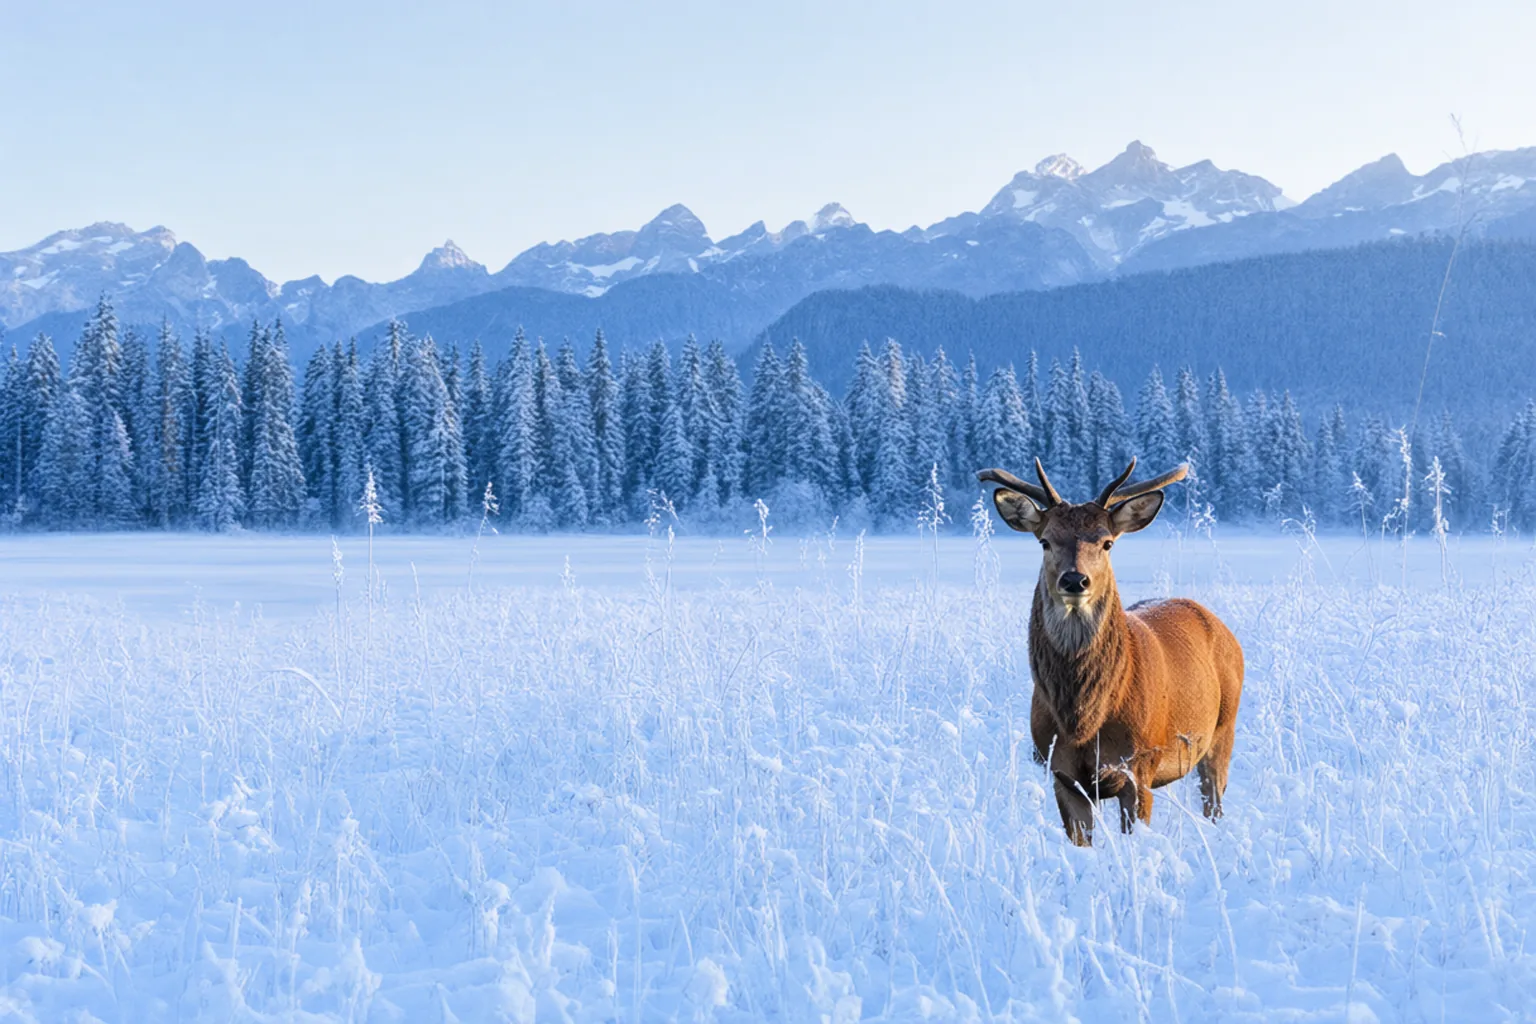
- Source is the picture to change: a layer, this document with all its layers, or another open document.
- A selection scopes the edit. Only the area around the selection is sent to the model and only the selection comes back, so the rest of the picture stays exactly as it was. Edit models redraw everything they are given and it drifts slightly; the selection is how you prevent that. Feather it for a soft join.
- Image 2, Image 3 are pictures the instruction can refer to. Open a file, choose it in the row, and name it the way the row does: "put the scarf from image 2 around her neck".
- Quality, under Advanced: Draft runs about a quarter of the steps to try an idea in seconds, Standard is the model's normal setting, Detail adds a fifth more for hands and fine detail.
Some models do both. FLUX.2 follows an instruction by default; to have it fill the selection instead, set Advanced › Method to Fill the selection.
5. Restyle
Edit › Restyle redraws a picture following the prompt. It starts from your picture instead of from nothing, so the composition carries over.
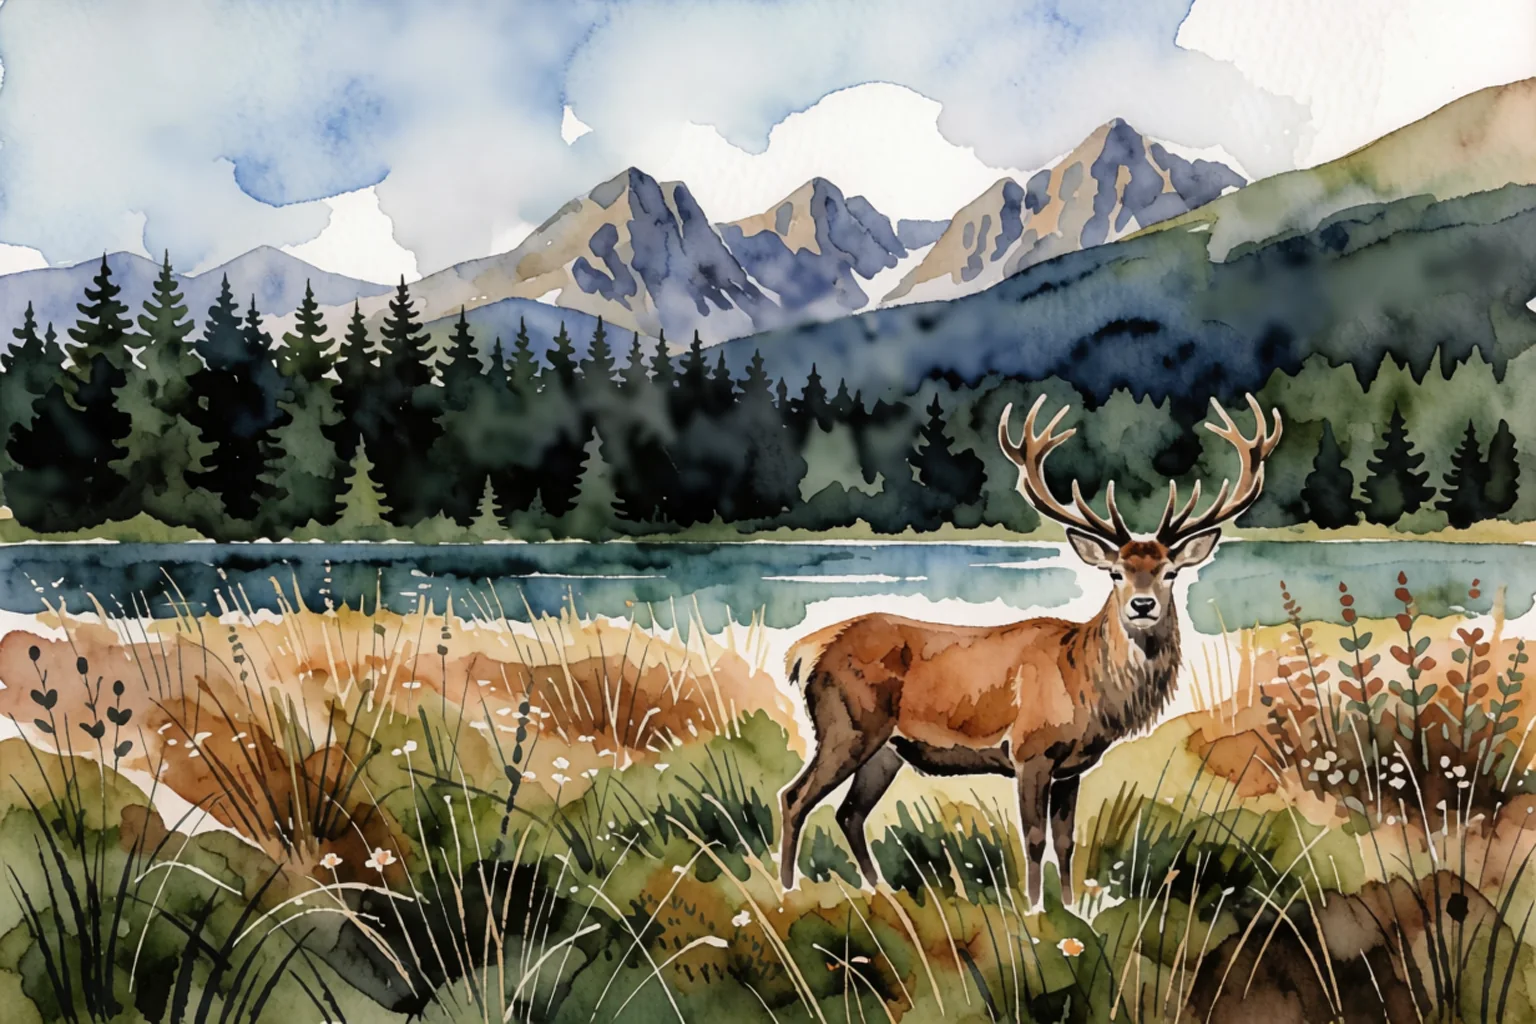
Strength is the one control that matters. At 60% the stag, the lake, the treeline and the peaks stay where they were. Raise it and the model takes more liberties. Here is the same prompt and seed at 75%: still a stag by a lake, but a different picture.
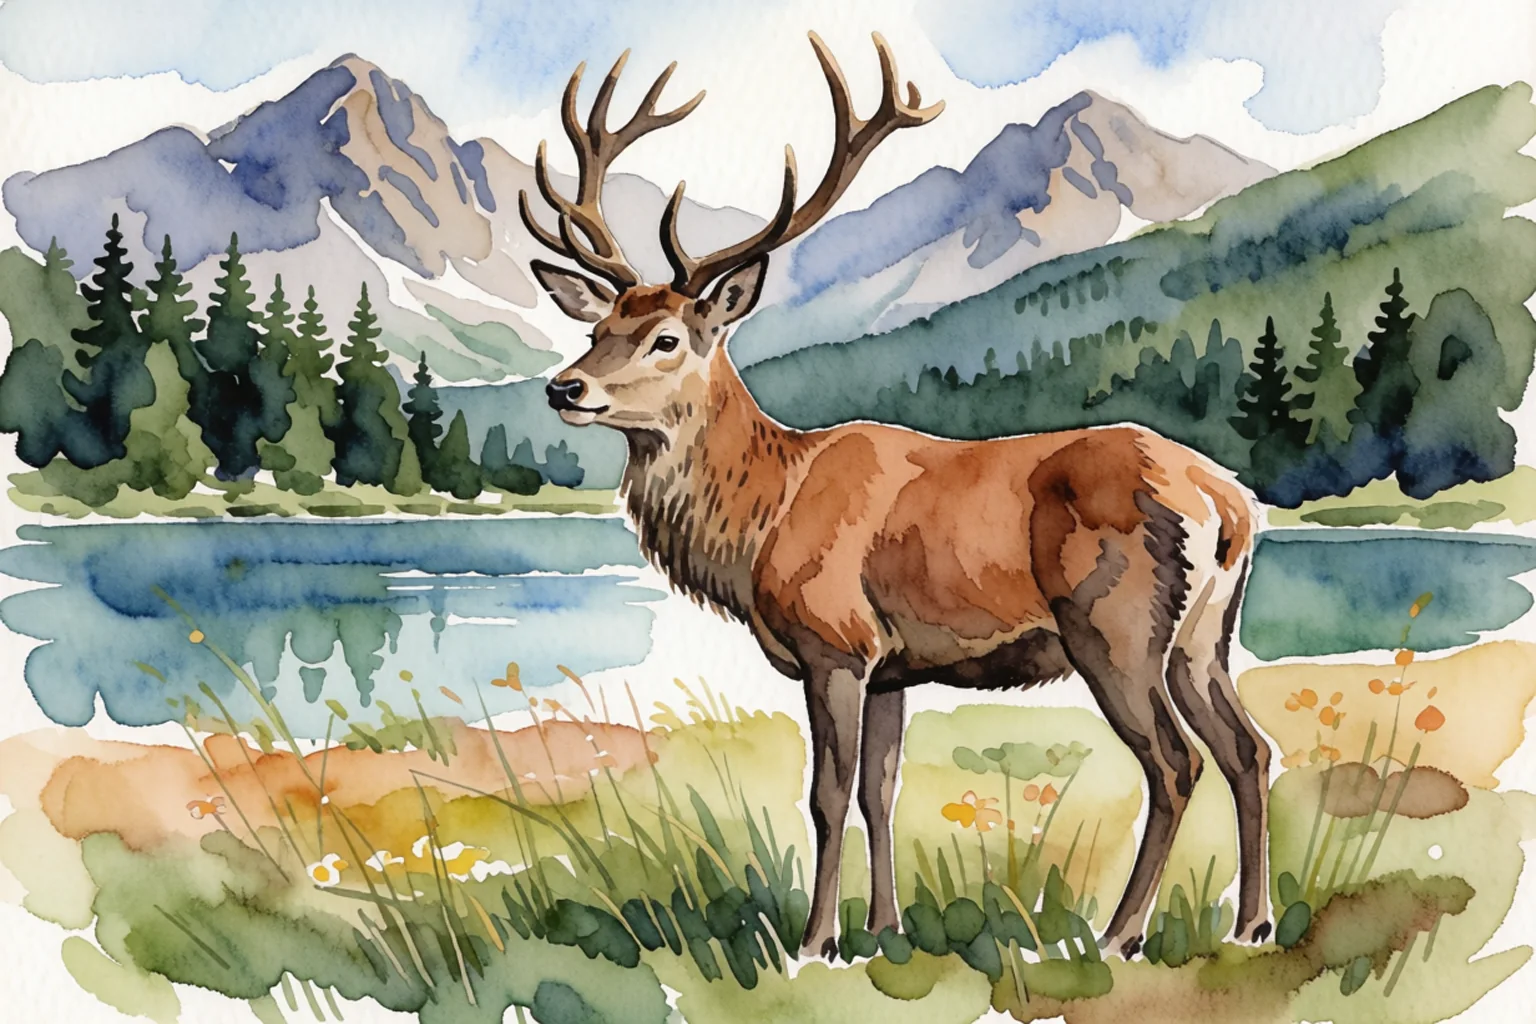 [krea_2_turbo] a watercolour painting… · strength 75%
Models behave differently here, and it pays to try two. In this example Krea 2 Turbo gave a watercolour at 60%; Z-Image Turbo with the same settings redrew the scene as another photograph. Fast models with very few steps move in coarse jumps: 60% of four steps is two.
6. Working with the layers
Each generation is a new layer above the one you worked on, named after the model and the prompt. The picture underneath is not changed.
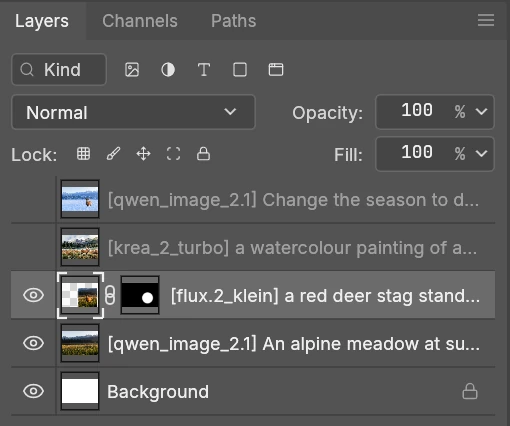
- Compare by clicking the layer's eye.
- Blend the edge by painting on the layer's mask with a soft brush.
- Try again with Ctrl + Z and Generate, or keep both layers and choose later.
- Pick up where you left off. Click a generated layer's name, thumbnail or mask and the panel loads the model, prompt and settings it was made with, on the tab they belong to. This works after saving and reopening, too: the settings are stored in PSD, PSB and layered TIFF files. Flat formats such as PNG and JPEG do not keep them.
Tips
- Lock the seed (Advanced › Seed) when you are refining a prompt. The next image then differs only by what you changed.
- Feather selections by a few pixels before filling or editing. Hard edges are where joins show.
- Describe light and lens, not only the subject. "Low golden light, 35mm" does more than "beautiful".
- For text in an image, use Ming Image and put the words you want in quotes.
- The first image after starting is slow, because the model has to load from disk. The ones after it are fast.
- Running out of graphics memory? Lower Render size (MP) in the model's settings, or pick a smaller model.
What is not there yet
This is a preview, and a few tasks you might expect under Edit are still on the list:
- Expand, extending a picture beyond its edges.
- Remove, taking an object out with one click.
- Upscale and sharpening.
Until then, removal works as a fill ("empty grass, no animal") and anything else can be done with a custom workflow. If one of these matters to your work, say so.